
Wireless Contact Closure Relay at a Glance...
- System Configuration
- Sender Board Remotely Controls the Receiver Board
- Sold as a Matched Pair
- 2 Contact Closure Inputs on the Sender Board
- 2 Relay Outputs on the Receiver Board
- Wireless Connectivity
- Wireless Communication up to 2 Miles (3.2 km)
- Requires Line-Of-Sight for Maximum Range - Status & Operation
- Sender Board Displays Remote Relay Real-Time Status
- No Programming, Software, or PC Setup Required
- Simply Connect and Power On
Control Without Pulling Wire
Wireless MirC controllers give you instant contact-closure mirroring without running cables, trenching, or rewiring. Set them up once, and they stay synced - simple, reliable, and ready for real-world automation.
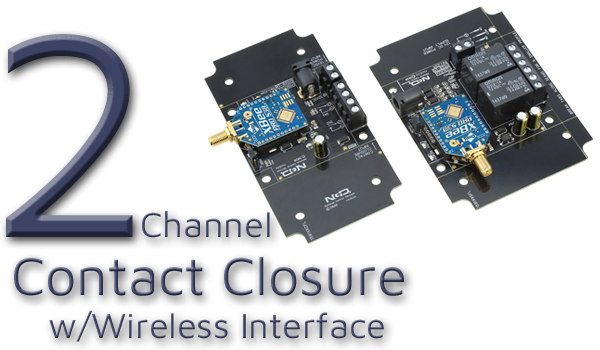
Wireless Contact Closure Relay - MirC Series
The MirC Wireless Contact Closure Relay system includes two preconfigured boards: a Sender Board and a Receiver Board. The sender accepts contact closure (no voltage) inputs, which instantly control the relays on the receiver board providing seamless, wireless communication between two points. Each purchase includes a complete MirC pair (both boards), ready to install.Contact Closure Input & Output
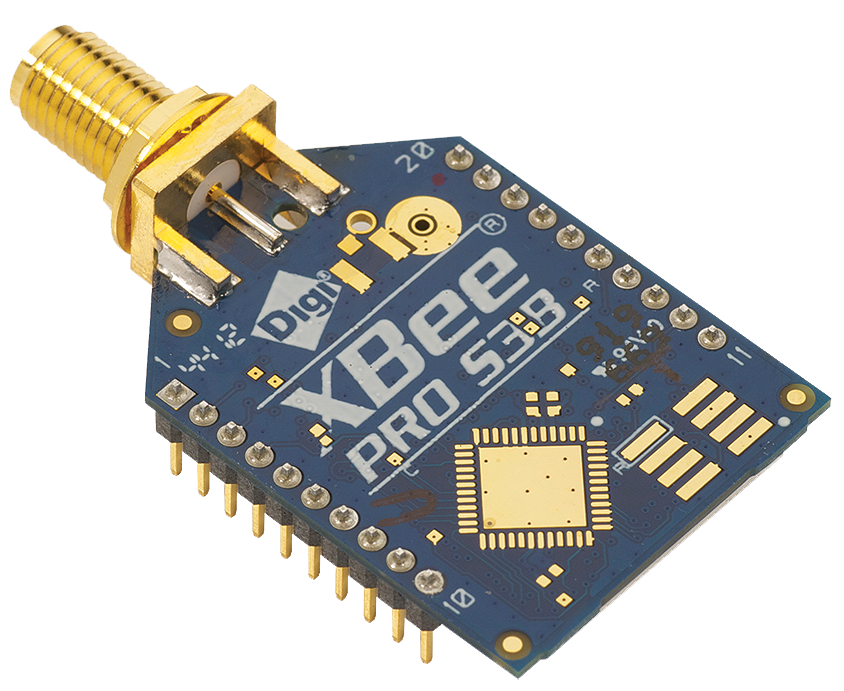
The relay on the receiver board can be used to either switch power to a device or act as a dry contact closure. This allows the MirC system to extend contact closure signals over long distances. Connect your device's contact closure (no voltage) to the Sender Board, and the Receiver Board will recreate that contact closure at the remote location.XBee-PRO 900 RF Module
Both the Sender and Receiver Boards feature a 900HP wireless module operating at 900 MHz. This module provides a reliable wireless link with a line-of-sight range of up to 2 miles (3.2 km), enabling dependable remote control in a wide range of applications.Step-by-Step Connection Guide
- Connect Your Device:
- Wire the contact closure output of your device to the input terminals on the Sender Board
- Power Both Boards:
- Apply 12VDC Power to both the Sender and Receiver Boards
- Wireless Linking:
- The 900HP wireless modules automatically establish the long-range communication link (no configuration required in standard MirC systems)
- Use the Relay Output:
- Wire the relay contacts on the Receiver Board to the circuit or equipment you want to control at the remote location
- Trigger the Closure:
- When the contact closure activates at the Sender Board, the Receiver Board's relay mirrors that state almost instantly
Choosing the Right Relay Amperage
The 2-Channel MirC boards include two dry contact inputs on the Sender Board and two relay outputs on the Receiver Board. The key difference between the options is the amperage rating of the relays installed. Select a board that matches the amperage required for your application.- SPDT relays are available in 5-Amp, 10-Amp, and 20-Amp versions.
- An SPST relay is available in a 30-Amp version.
💡 Relay Pros ProTip:
If you're controlling high-current loads like motors or heaters, always choose a relay with extra amperage headroom. Running a relay at its maximum rating can shorten its lifespan.


